
 866
866
GENERIC PRICE UPDATE PROCEDURES
In order to import a price file that you have received from a Vendor, do the following steps (These steps will work with ALL pricing files)
NOTE: Vision can import ONLY Microsoft Excel Version 5.0/95 files or Comma delimited files. Adobe Acrobat cannot be imported. In addition, the Excel Files must be no more than 16000 records in length, or they will have to be split into several different sheets. For ease of import, the files you import should be for only 1 Line of Inventory (the line code assigned to the parts you are importing)
1. Make sure you have a backup by going into U for Utilities, L for backup system, and B complete backup. Once that is done proceed to step 2.
2. Make sure the file meets the above criteria and remove any columns that cannot be imported. A complete list of fields that can be imported are shown below.

3. Ensure that the file is saved as Excel 5.0/95 or in Comma delimited format.
4. Copy the file to the Vision Pricing folder (i.e. P:\VISION\PRICING)
5. Go into Vision to start the import
A. Go into Inventory
B. Press F6 for options
C. Arrow down to Import Options
D. Click on Import to Price file
E. Locate and double click on the Pricing Folder that you saved the excel spreadsheet into.
F. Double click the file name inside the pricing folder that you saved

G. Once you select your file you will see a screen like the one below.

H. In the example above, Part number has COL1 in the field to the right. That comes from the very top of the screen where COL1 is identified as the Part number. Since this is a Luberfiner import, we have provided the line code of LUB in the Line Field, and since we buy this part directly from Luberfiner, we have provided LUB as the vendor code as well. Once you click OK on the box with the line codes, you can continue on to fill out the rest of the fields you want to import. An example of how this would look is shown below.

I. As you can see, the columns now all coincide with the columns shown at the top that we want to import. Once you have this setup like you need it to be press the F8 key. You will then be given the following options.

J. From here you will want to Click on A, to update Price file complete. Once that is done, click the OK button at the bottom of the screen. You are now finished with the import process.
SETTING MARGINS ON NEW PRICE IMPORT
In order to set margins for your new import, do the following: (for more information please refer to this article Set Class margin by Sales
1. From the Inventory screen press F6 to go to Options
2. Arrow down to where the Velocity Margin/Popularity manager is. This will open a new window to the right. Select Set Class Margin by sales (second entry down).
3. You will be presented with a screen that looks like so:

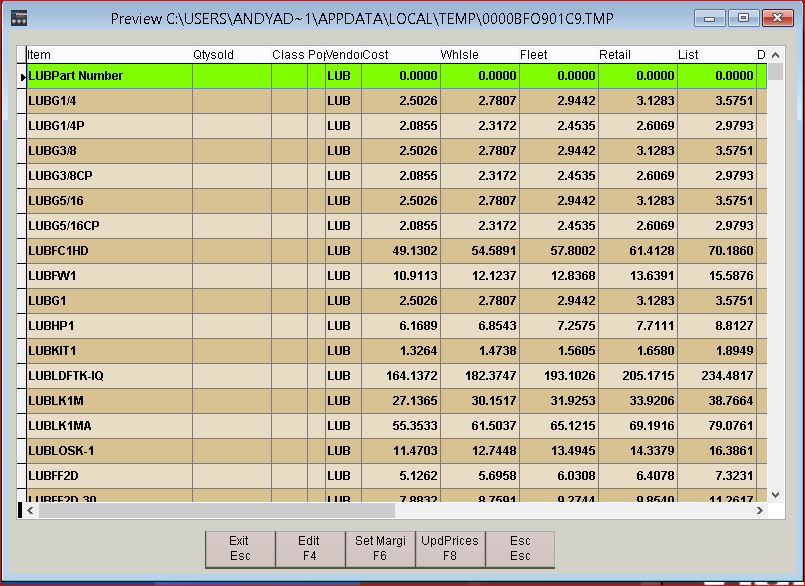
A. Continuing on with the Luberfiner import, we have already filled in the pertinent data in the above example. LUB is the line code for Luberfiner (we do not need to provide the vendor code in here), since there are no class codes involved we left that field blank. You MUST answer Y to Adj Margin Only and Y to Update Prices Table (since that is where we just imported the file above into). The Based on box is what we are going to base our margins on. Once you have the information filled in above, click OK to continue. A new window that looks like the following will open for you to use.

B. This is the information that you imported from the price Import section. If you remember, we only imported Cost & Retail. All other entries are blank. What we are going to do now is to use the F6, Set margin option to set margins for our Luberfiner pricing. When you press the F6 key, you will get the following options.

C. You can choose here to either update by Margin, or by Percentage. Be advised that regardless of which one you use, the ONLY thing that will display in Inventory is Margin. Percentage will never be displayed. Click on A to set margins and you will then be presented with a screen like the one below.

D. In our example above we are going to use margins of 10 for Wholesale, 15 for Fleet and 30 for list. Your margins can and will be different, since this is only an example, go on to the next screen. When you click OK, you will then be presented with a changed screen with pricing that is now filled out for Wholesale, Fleet and List as in the screen below.
E. As you can see, the pricing columns are now all filled in. At this point you CAN if you choose, click on F8 to update the price file with this information. However if something does not look right to you, you can choose to press ESC and no changes will take place (i.e. wholesale/fleet/list pricing will be reverted to their blank status). Click F8 to update prices and answer Yes to the prompt to update prices. Once that is done you have completed the velocity margin process for updating your margins for your imported price files.
UPDATE INVENTORY WITH PRICING FILE
You have imported the price file, set your margins and now you want to use that information to update existing part numbers in your inventory. Peform the following steps in order to update inventory with the price file.
1. From Inventory press F6 to go to Options.
2. Press M to go to Menu
3. Press G to go to Upd Inven Pricing with Prices Pricing & Update Kits/Specials/Average. Type in the file access code of PTM-FAC. You will get a menu like this.

A. Choose Selection A to Update Inventory Pricing (you will then be presented with the following screen.

B. On this screen you can, if you wish, choose to update Cost ONLY and Maintain your current inventory margins. This can be useful if you have several different existing margin levels in your inventory that you do not wish to change. it is also the safest bet when doing this for the first time UNLESS you have no margins set for the pricing levels in Inventory. Updating the core cost field is not necessary if there is no core cost included in the price file, and in fact can mess up your cores in a line if the vendor did not include core charges on the price file. Safest bet is to answer N to update core cost fields unless you did import cores pricing. Except in very unique circumstances leave all of the rest of the above answers and boxes at their default. The next screen allows you to choose which line code you are going to use.

C. We are updating the LUB line code so that is what will go into the field above. Leave the Vendor Code blank and update class codes at N. Click ok and when the screen tells you that Update is Complete, you can then go in and check how things worked. Be advised that if there is any problem with any of the above steps, you can reach us at 877-428-7472 for immediate assistance, or you can use our support portal and request help from there.

