
 1129
1129
[F2] ENTERING A NEW PART
Before building an new inventory part the Best Practices Suggestion is to have a plan for your Line Codes refer to Line Codes for an understanding of Common Line Codes and Special Line Codes. Refer to Inventory Fields section for a overview of all the fields in the Inventory Management System pertaining to Stock Type 1 items (parts).
Also refer to the following brief video on setting up Inventory

Start out in the Inventory Managment System on a Stock Type 1 item (Parts1) tab.
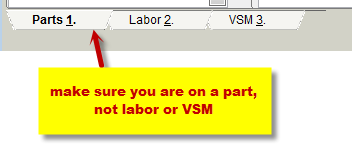
By selecting the [F2] new function within the Parts view the system will automatically bring up a NEW PART item on the screen that is open for editing.
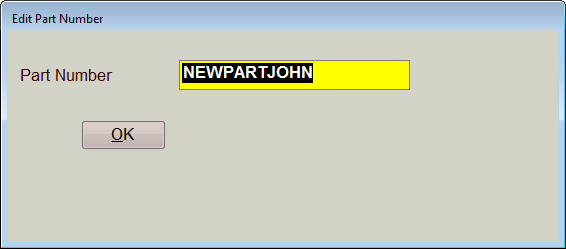
As soon as [F2] New is used a part number is created it has NEWPART with the computer user name as the part number; it is up to the user to put in a proper line code, part number and details for that item to complete the record. Change the Part Number field to the proper line code and item number as shown before hitting [Enter] or clicking on OK.
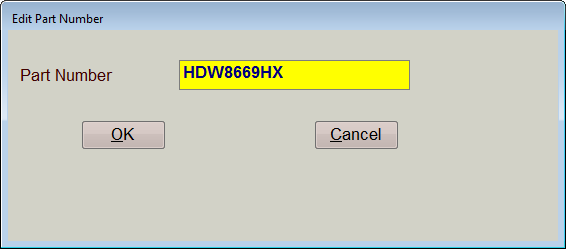
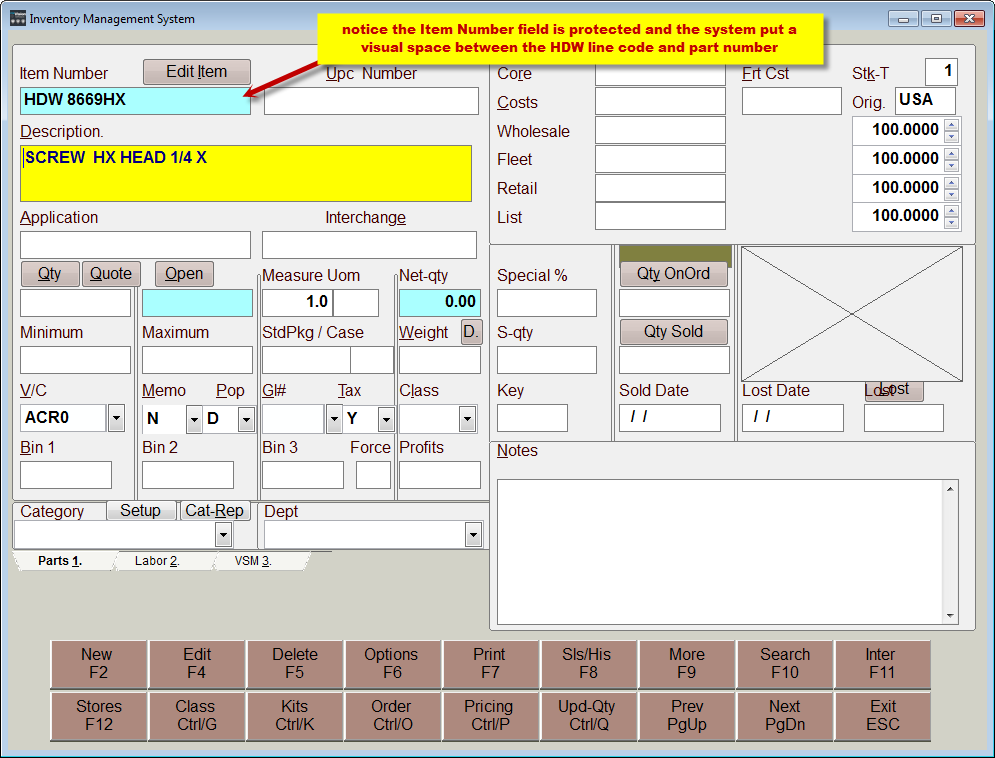
Remember DO NOT put a space between the three digit line code (HDW) and the part number (8669HX)
Once OK is selected the Inventory Management System will be open for editing starting with the Description field.
Fill in the rest of the necessary information using the same navigation tools that are available when editing an item. Verify each field's change as you move along by using Tab or Enter to leave that field. Use [F4] to close the Edit mode on that item.
NAVIGATING INVENTORY Fields
There are several ways to navigate through the fields; the mouse and left mouse button, the Enter key, the arrow keys, the Tab key and Shift Tab keys along with hotkey letter combinations.
Mouse Use the Mouse to navigate the cursor to a specific area—simply point the mouse and left click once to place the cursor on that specific spot.
Arrow Keys The arrow keys will move the cursor up and down through the fields or left and right within a field
[TAB] Use the [TAB] Key to move through each individual field one at a time.
[Shift] + [Tab] The combination of [Shift] and the [Tab] keys together takes the cursor backwards to the previous field
[Alt] + letter Use [Alt] + [letter] to go to that specified area—notice on the screen that there are letters within words on field names that are underlined such as in the Cost field has the letter C underlined, by pressing the [Alt] key and the letter C the cursor will automatically move to the Cost field.
[PgDn] Using the [PgDn] key while in the edit mode will move the screen to the next inventory item on the list. The cursor will remain in the same field while the user Pages Down through the records
[PgUp] Using the [PgUp] key while in the edit mode will move the screen to the previous inventory item on the list. The cursor will remain in the same field while the user Pages Up through the records
Reporting on New Inventory Items
To properly monitor your Inventory a report should be checked to verify items entered to the inventory file are setup correctly (remember this system is able to handle and track Non Inventory parts very easily so only stocked or commonly sold items need to be setup in the inventory file).
R. Reporting System
A. Inventory
any format will work, Z for parts information only is a very easy report to view
O. options
L. by enter date
If this report is checked at least once a month or maybe once a week in the beginning the inventory manager will always know what has been setup and if it needs to be fixed.
Deleting Inventory Items
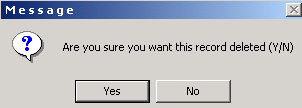
The [F5] option to delete an item brings up the prompt to verify that the user wants the selected item deleted, select yes to mark the item for deletion.
Remember if an item is deleted the Sales and Purchase History will still be accessible through the Sales Reporting and Purchase Reporting areas.
If the users are deleting or editing several inventory items (especially when first getting started) it is suggested that the Inventory file be Flushed and Reindexed to ensure data structure integrity. Refer to the Utilities, File Utilities section for more information on Flushing Bad Data and Reindexing files.
ALTERNATE SUPPLIER
While on an item in Inventory a list of alternative suppliers along with alternative part numbers for ordering with those suppliers can be setup. There are two ways to access the Alternate Supplier screen; the easiest is to use the [Ctrl] and letter A keys from inventory item viewing screen or select [F6] Options and then use the letter A or press [Enter] on Alternate Supplier.
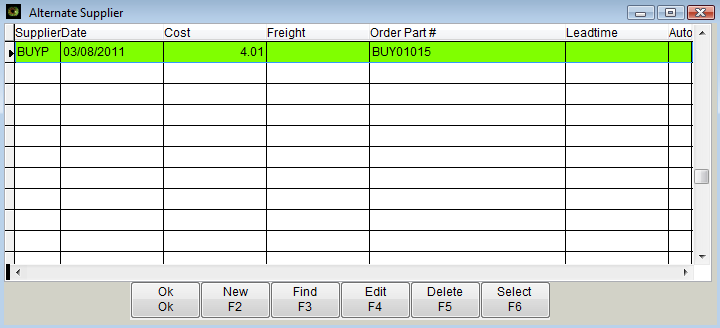
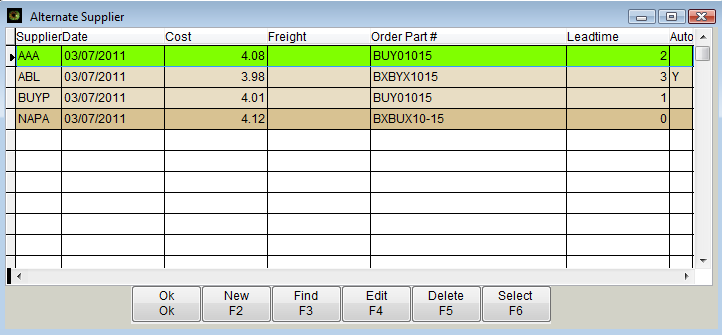
When first accessing the Alternate Supplier screen the item/part will be the only item showing in the list. To add the Alternate Supplier information select [F2] New; by default the selected item and default supplier will populate the fields – as shown below.
Use the [F4] Edit button to edit the new line.
-
Change the Supplier field to the alternate suppliers ID, the list is sorted by the Supplier ID so it will sort as soon as pressing enter or tab from changing the Supplier.
-
The date will default in with the current date.
-
The cost will show the current cost, if the Alternate Suppliers cost is known change the cost, if not leave it with the default current cost.
-
The Freight field is available if using Freight on other items to show the cost of Freight increase on part cost.
-
Order Part # is the Ordering part number-if the Supplier uses a different part number then put the Suppliers part number here
-
Leadtime is a numeric field to show the number of days it takes this supplier to deliver the item; to assist in making an educated Purchase decision
-
Autoord= Automatically Order; by default the Alternate Supplier items will have Y on Autoord. To avoid issues verify that only one of the suppliers is setup as Autoord on the part.
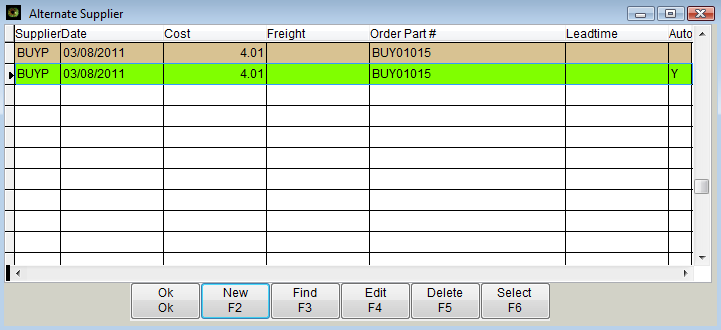
One item could have several different Alternate Suppliers as show in the example. Notice the Supplier with the lowest cost is set as the Autoord supplier even though it has a longer leadtime. When the item goes to Purchase Orders either by being sold to minimum or sent to Purchase manually the item will automatically be under the ABL Vendor and using the Order Part Number of BXBYX1015.
![]()
On the Purchase Order screen the part will display with the stocking number but the Altno will display with the Order Number. The Altno can be setup to print out on the Purchase Order for the Supplier/Vendor; this is a setting in System Setup: Go to Utilities, J. System Setup, Q. System Features and check mark the option for “Always Order Alternate Numbers On Purchase Orders”.
Alternate Suppliers and Alternate part numbers can also be setup and managed from the Purchase Order screen using the same hotkey combination of [Ctrl] and A. The Purchase Order screen will show the Inventory item number the user can then bring up the Alternate Supplier screen to setup or select from the list of alternate suppliers.
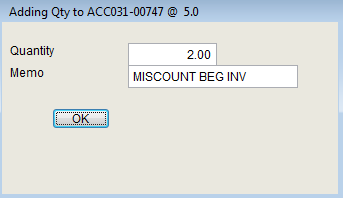
[Ctrl] & [Q] UPDATE QUANTITY
There are two ways to manually update the quantity in stock on an item in the Inventory Management screen: 1) in a part use the Upd-Qty button or press [Ctrl]and the letter Q 2) Go to Options and press [Alt] and [Q] or select Upd Quantity.
The Update Quantity option will access a field for the Quantity to add or subtract from the existing quantity in stock, use a - symbol to subtract quantities. The field for the Memo is very valuable and will display on the Inventory Transactions report accessed in the [F7] Print menu. For more details on how to effectively use the Memo field refer to the section on Inventory Cyclic Counts.
Next the system will prompt for a General Ledger Account to offset – this is typically used to track inventory adjustment more closely on a Perpetual Inventory system. If a G/L Account is entered here an adjustment will be built by the system to account for the change in quantity on the inventory asset value. DO NOT USE THE INVENTORY ASSET GENERAL LEDGER NUMBER – have a GL setup for INVENTOR VARIANCE to track adjustments.


